

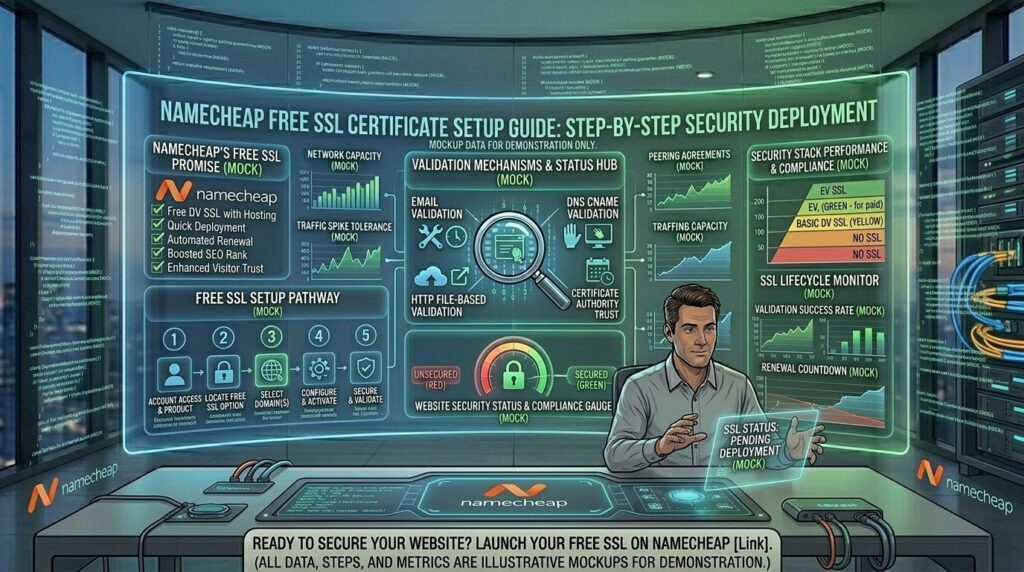
Securing your website with an SSL (Secure Sockets Layer) certificate is no longer optional—it is a mandatory foundational step for online credibility, user data safety, and Google SEO rankings. Whether you are running an e-commerce boutique in New York, a tech startup in San Francisco, a retail brand in Los Angeles (California), a digital consultancy in Austin (Texas), or a media firm in Seattle (Washington), visitors expect your URL to begin with https:// and display the secure browser padlock icon.
For webmasters hosting websites on Namecheap shared hosting environments, securing your domains has become remarkably streamlined. Namecheap provides up to 50 free 1-year PositiveSSL certificates with eligible shared hosting packages, which can be automatically or semi-automatically deployed using their custom cPanel plugin.
This exhaustive, step-by-step setup guide walks you through activating, installing, and troubleshooting your free Namecheap SSL certificate, ensuring your digital property is fully optimized for top-tier Google search visibility.
1. Understanding Namecheap’s Free SSL Offering
Before diving into the technical installation workflow, it is important to understand how Namecheap’s complimentary security offering functions:
- The PositiveSSL Partnership: Namecheap bundles free 1-year PositiveSSL (issued by Sectigo) certificates with qualifying shared hosting plans.
- Coverage Scope: This applies to your primary domain name, subsequent add-on domains, and subdomains created within your cPanel hosting account (up to a maximum of 50 free certificates per account).
- Automatic vs. Manual Issuance: While Namecheap hosting plans feature automated scripts via their custom cPanel plugin, understanding how to manually verify and sync certificates ensures you can troubleshoot any deployment snags instantly.
2. Prerequisites Before You Begin
To ensure your free SSL certificate issues and installs smoothly without throwing validation errors, verify the following configuration settings:
+-----------------------------------------------------------------------+
|                   PREREQUISITE CHECKLIST FOR SSL                      |
+-----------------------------------------------------------------------+
| 1. Domain Name Server (DNS) Records: Pointed correctly to your        |
|    Namecheap hosting nameservers (e.g., dns1.namecheaphosting.com).   |
| 2. Domain Propagation: Allow 10 to 30 minutes for DNS synchronization. |
| 3. Active Hosting Package: Ensure your shared hosting tier is active  |
|    and cPanel access is fully provisioned.                            |
+-----------------------------------------------------------------------+
- Correct Nameservers: Your domain must point directly to your Namecheap hosting account via standard Namecheap hosting nameservers. If your domain uses external DNS records or third-party cloud proxies (like Cloudflare) before activation, Domain Control Validation (DCV) can fail.
- Domain Status: Ensure the domain is fully active and not locked behind registrar errors or pending transfers.
3. Step-by-Step Installation Guide via cPanel
Most domains added to Namecheap shared hosting have their SSL certificates issued and installed automatically through background automation. However, if you need to manually activate, sync, or install a free PositiveSSL certificate for an add-on domain or subdomain, follow this systematic workflow:
+-----------------------------------------------------------------------+
|                     NAMECHEAP SSL WORKFLOW                            |
+-----------------------------------------------------------------------+
| Step 1: Log into your Namecheap cPanel dashboard                      |
| Step 2: Locate the "Namecheap SSL" plugin under exclusive tools       |
| Step 3: Synchronize your Namecheap and cPanel user accounts           |
| Step 4: Check the "Ready for Installation" tab and click Install      |
| Step 5: Enable automatic HTTPS redirection                            |
+-----------------------------------------------------------------------+
Step 1: Log into Your cPanel Dashboard
- Log into your primary Namecheap account dashboard.
- Navigate to your Domain List or Hosting List and launch cPanel for your target website.
Step 2: Open the Namecheap SSL Plugin
- Scroll down inside cPanel to the section labeled Exclusive for Namecheap Customers.
- Click on the Namecheap SSL icon. This opens the specialized management interface built to handle Sectigo PositiveSSL certificates on Namecheap servers.
Step 3: Synchronize Your Account
- If prompted, click Sign in with Namecheap to link your hosting container with your main Namecheap client profile. This synchronization allows the plugin to read available free SSL credits linked to your account.
- Inside the dashboard, you will see two primary tabs: Ready for installation and Installed via “Namecheap SSL”.
Step 4: Install the Certificate
- Locate your domain inside the Ready for installation tab.
- Click the Install button next to your domain.
- Allow approximately 1 to 5 minutes for the system to validate ownership, generate keys, and push the certificate to your server environment. Once complete, the status indicator will shift from In progress to Active.
Step 5: Enforce HTTPS Redirects
- Go to the Installed via “Namecheap SSL” tab.
- Ensure that the HTTPS by default or HTTPS Redirect toggle is switched ON. This guarantees that any incoming visitor typing
[http://yoursite.com](http://yoursite.com)is instantly redirected to the securehttps://version.
4. Verifying Your SSL Installation
Once the installation sequence is complete, test your website configuration to ensure browsers trust your connection:
- Browser Check: Open an Incognito/Private browsing window in Chrome, Safari, or Firefox and navigate to
[https://yourdomain.com](https://yourdomain.com). Look for the secure padlock icon next to your URL bar. - Certificate Details: Click the padlock icon, inspect the certificate details, and verify that it lists Sectigo / PositiveSSL as the issuer and displays your domain name correctly with a valid 1-year expiration horizon.
- Automated SSL Checkers: Run your URL through free online security analyzers (like Qualys SSL Labs) to confirm that your intermediate certificate chains are configured correctly with zero warning flags.
5. Troubleshooting Common SSL Errors
Even with automated plugins, webmasters occasionally encounter common snags. Here is how to resolve them quickly:
+-----------------------------------+-----------------------------------+
|          COMMON ERROR             |          TROUBLESHOOTING FIX      |
+-----------------------------------+-----------------------------------+
| • "Not Secure" mixed content warning| • Update WordPress site URLs to   |
|                                   |   use https:// and replace http://|
|                                   |   media paths.                    |
| • DCV Validation Timeout          | • Ensure DNS points directly to   |
|                                   |   Namecheap hosting without proxy |
|                                   |   blocks.                         |
| • Redirect Loop Errors            | • Check WordPress settings & .htaccess|
|                                   |   for conflicting SSL rules.      |
+-----------------------------------+-----------------------------------+
Mixed Content Warnings
If your URL displays a padlock with a warning triangle, your site suffers from Mixed Content. This happens when your secure https:// page loads old images, stylesheets, or scripts over unsecured http:// links.
- The Fix: Install a reputable WordPress migration plugin (like Really Simple SSL) or perform a database search-and-replace to update all internal asset URLs from
http://tohttps://.
6. Google SEO Implications of Installing an SSL Certificate
Implementing an SSL certificate is a direct, verified ranking signal in Google’s search algorithm.
+-----------------------------------------------------------------------+
|                    SEO ADVANTAGES OF HTTPS DEPLOYMENT                 |
+-----------------------------------------------------------------------+
| 1. Direct Algorithm Signal: Google confirmed HTTPS as a lightweight   |
|    ranking booster for all web properties.                            |
| 2. Browser Trust & CTR: Modern browsers flag HTTP sites as "Not       |
|    Secure," causing immediate bounce spikes and lower conversions.    |
| 3. Analytics Integrity: Secure HTTPS-to-HTTPS referrals pass clean    |
|    analytics data without dropping source attribution.                |
+-----------------------------------------------------------------------+
For competitive digital ventures targeting regional audiences across New York, San Francisco, Los Angeles, Seattle, and Austin, missing an SSL certificate destroys user trust instantly. Visitors who land on a “Not Secure” warning page will bounce within seconds, signaling poor user engagement metrics to search engines and depressing your organic search rankings.
7. Strategic Optimization Tips for Namecheap Webmasters
Maximize your Namecheap hosting setup and ensure flawless SSL maintenance with these expert tips:
- Set Up Automated Renewal Reminders: While Namecheap’s free 1-year PositiveSSL certificates often renew automatically through the cPanel plugin, keep an eye on calendar alerts around the 11-month mark to verify that renewal tokens execute without hitch.
- Avoid Third-Party DNS Conflicts: If you manage your domain DNS via Cloudflare or an external registrar, domain control validation (DCV) files can fail to read. Keep your nameservers native to Namecheap hosting during initial SSL issuance.
- Update Google Search Console: After forcing HTTPS redirects, log into Google Search Console and add your new
https://property (or verify that your domain property covers both) to monitor indexing health and submit your updated XML sitemap. - Enable HSTS (HTTP Strict Transport Security): Once your SSL is stable, consider enabling HSTS headers via cPanel to force browsers to interact with your site exclusively over secure connections, preventing downgrade attacks.
8. Frequently Asked Questions (FAQ)
1. Are Namecheap’s free SSL certificates truly free forever?
No. The free PositiveSSL certificates included with Namecheap shared hosting packages are valid for one year. Under current Namecheap promotional terms, they renew automatically or can be re-issued through the cPanel plugin as long as your hosting subscription remains active.
2. Do I need to buy a dedicated IP address to install my free SSL?
No. Namecheap hosting servers support Server Name Indication (SNI) technology, which allows multiple SSL certificates to share a single server IP address without compatibility issues on modern web browsers.
3. Why does my browser still say “Not Secure” after installing the SSL?
This is typically caused by Mixed Content (loading unencrypted http:// images or scripts) or browser caching. Clear your browser cache, check your WordPress general settings to ensure both WordPress Address and Site Address use https://, and ensure HTTPS redirection is enabled in cPanel.
4. Can I use Namecheap’s free SSL if my domain points to a different host?
No. The free cPanel PositiveSSL integration requires your domain name to point directly to your Namecheap shared hosting nameservers so that validation and file installation can execute on the server container.
5. What is Domain Control Validation (DCV)?
DCV is a security verification method required by Certificate Authorities (like Sectigo) to prove that you actually own or control the domain name you are trying to secure before issuing the SSL certificate.
6. Will installing an SSL certificate hurt my Google SEO rankings?
No. When executed correctly with a permanent 301 redirect from HTTP to HTTPS, installing an SSL certificate improves your SEO rankings because Google favors secure, encrypted websites.
7. How do I force my website to load exclusively over HTTPS?
You can enable the HTTPS by default or HTTPS Redirect toggle inside the Namecheap SSL plugin within your cPanel dashboard, or add a custom redirect rule inside your website’s .htaccess file.
8. Does the free SSL certificate cover subdomains like blog.yoursite.com?
Yes. Namecheap’s shared hosting free PositiveSSL offer extends coverage to your primary domain, add-on domains, and subdomains created within your cPanel account, subject to plugin automation limits.
9. What should I do if my free SSL certificate fails to issue automatically?
Open the Namecheap SSL plugin in cPanel, check the Ready for installation tab, and manually click the Install button. If validation errors persist, contact Namecheap 24/7 support via live chat to sync your account keys.
10. Do I need to renew my SSL certificate manually every year?
For certificates managed via the Namecheap SSL cPanel plugin, re-issuance and synchronization are designed to run smoothly, but you should verify your certificate status annually in your cPanel dashboard to ensure uninterrupted security coverage.
9. Conclusion
Securing your digital property with an SSL certificate is a vital operational step that protects user data, satisfies modern browser standards, and satisfies Google’s core ranking requirements.
For webmasters operating on Namecheap shared hosting, the inclusion of free 1-year PositiveSSL certificates combined with the custom cPanel management plugin removes the traditional technical complexity of encryption deployment. By following this step-by-step guide, verifying your domain configuration, and enforcing strict HTTPS redirects, you establish a secure, trustworthy foundation built to rank at the top of Google search results across competitive markets in New York, San Francisco, Los Angeles, Seattle, and Austin.



Pingback: How to fix too many redirects error after installing ssl on hosting - The host reviews
Pingback: Why is my SSL certificate showing not secure on web hosting - The host reviews